 Image 1 of 3
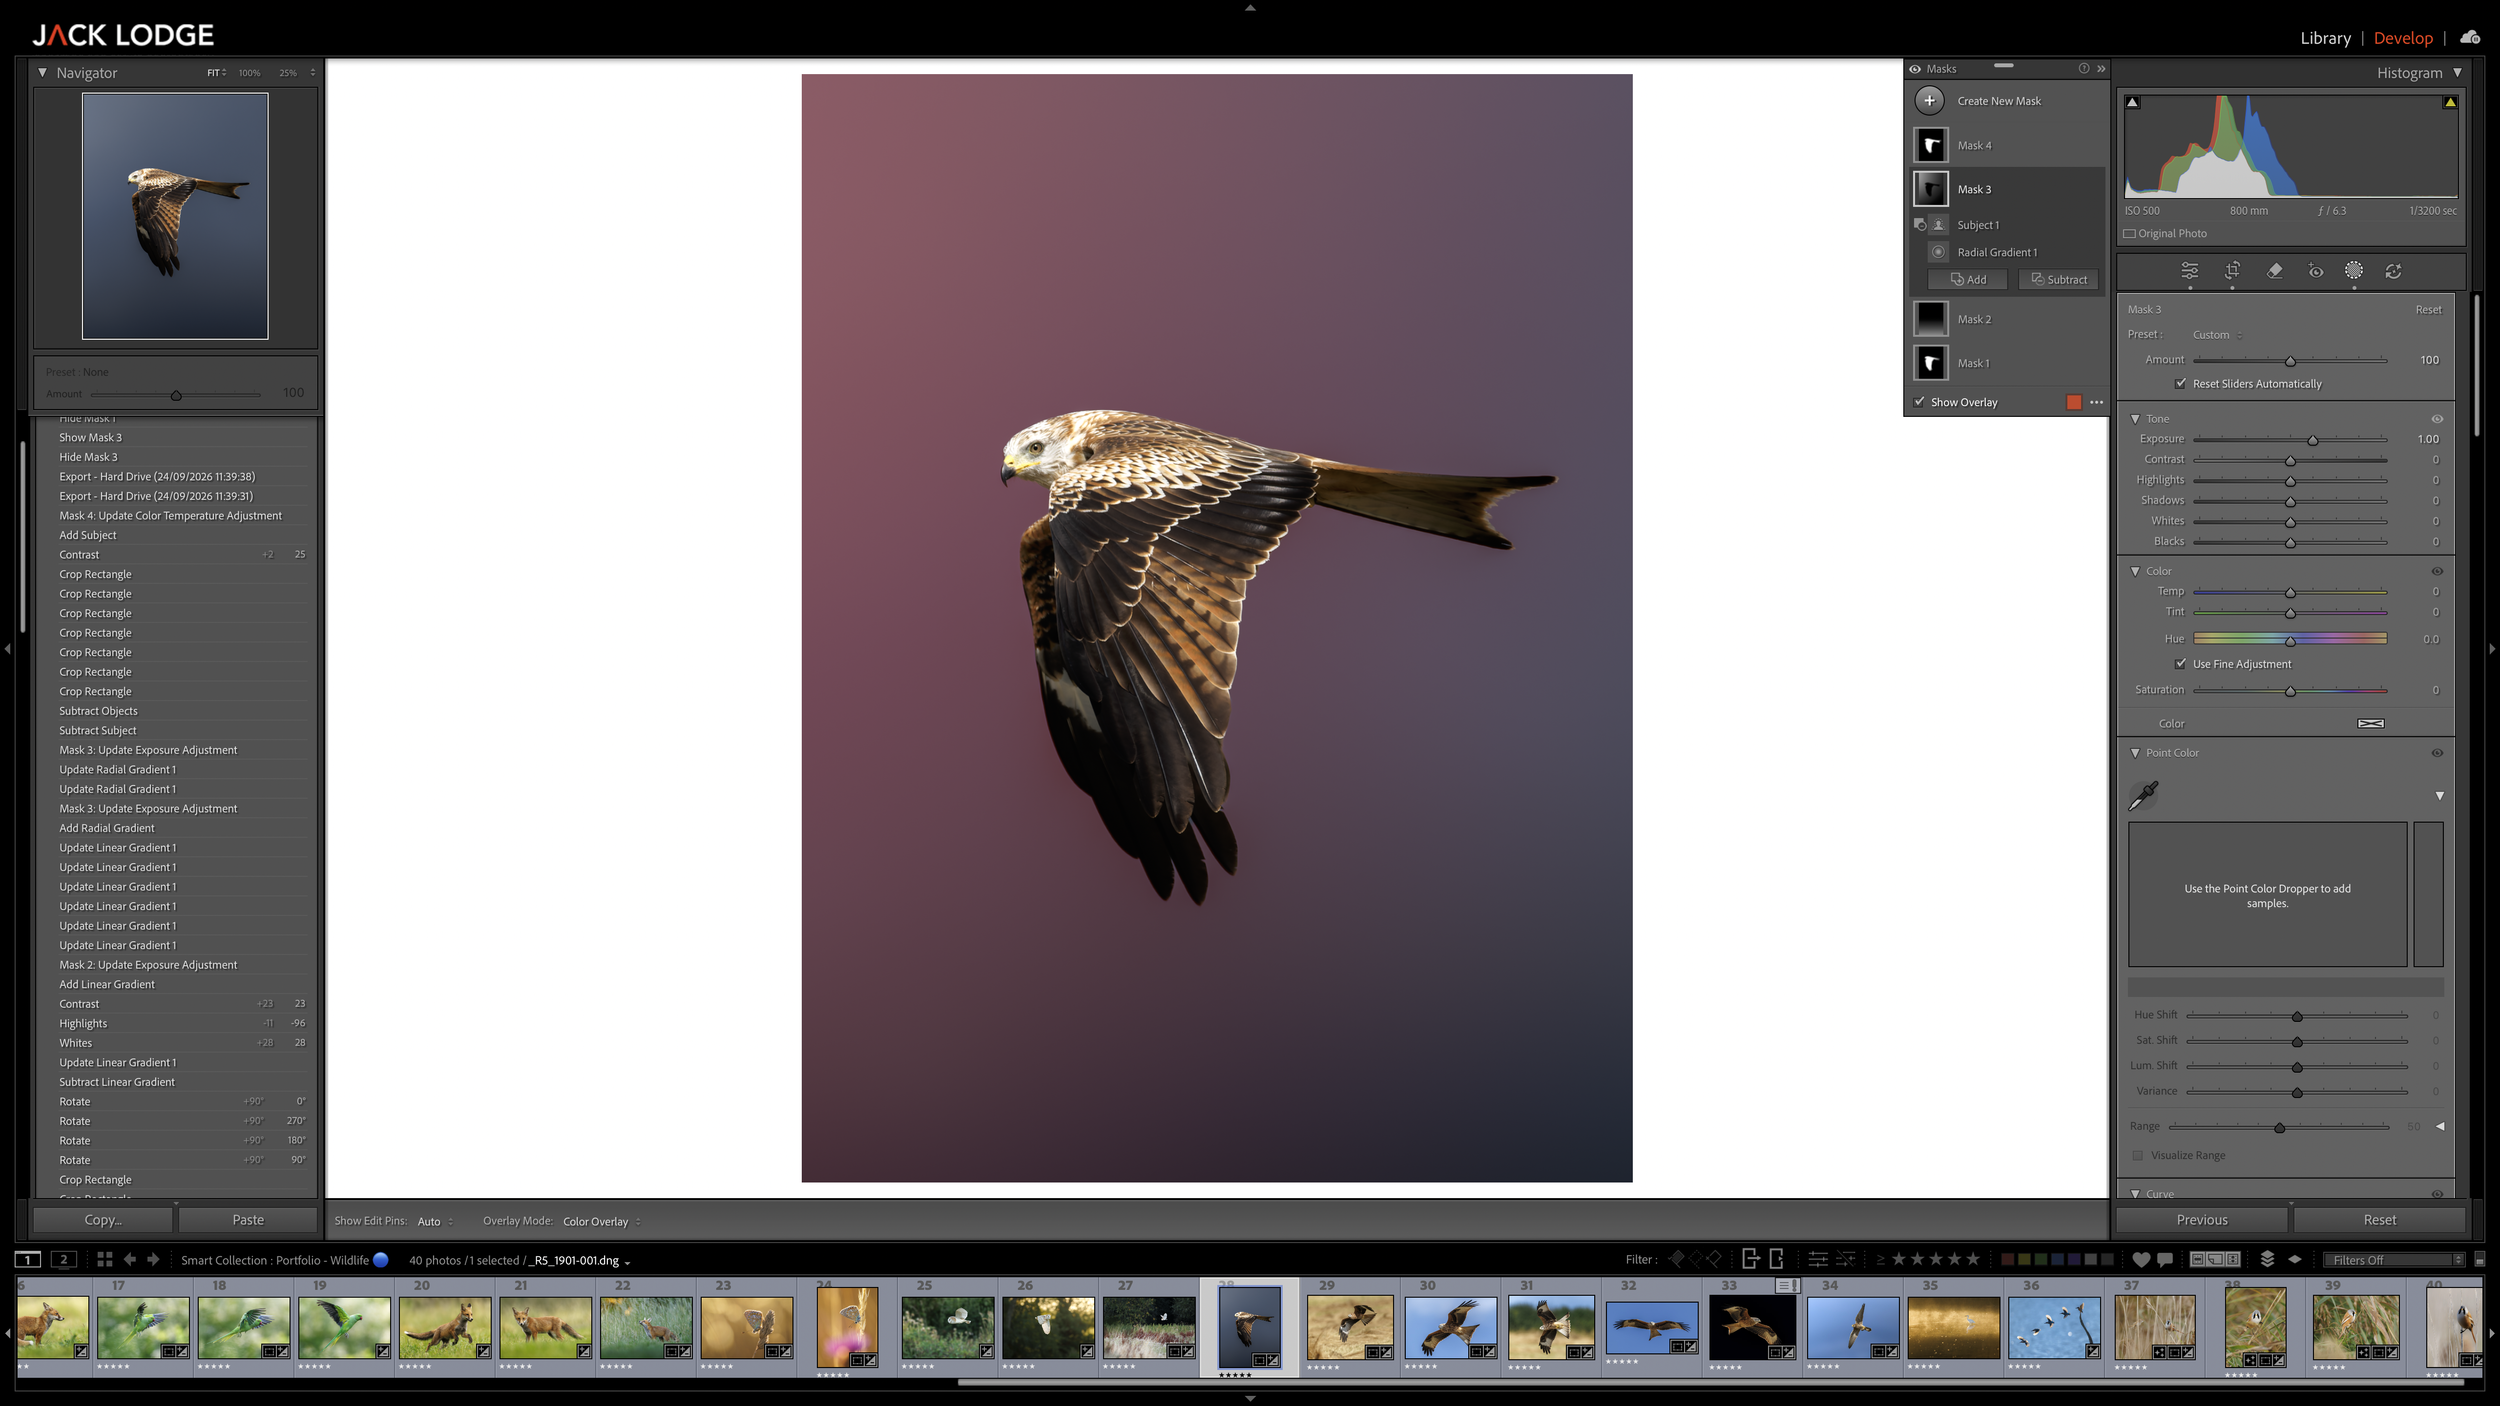 Image 2 of 3
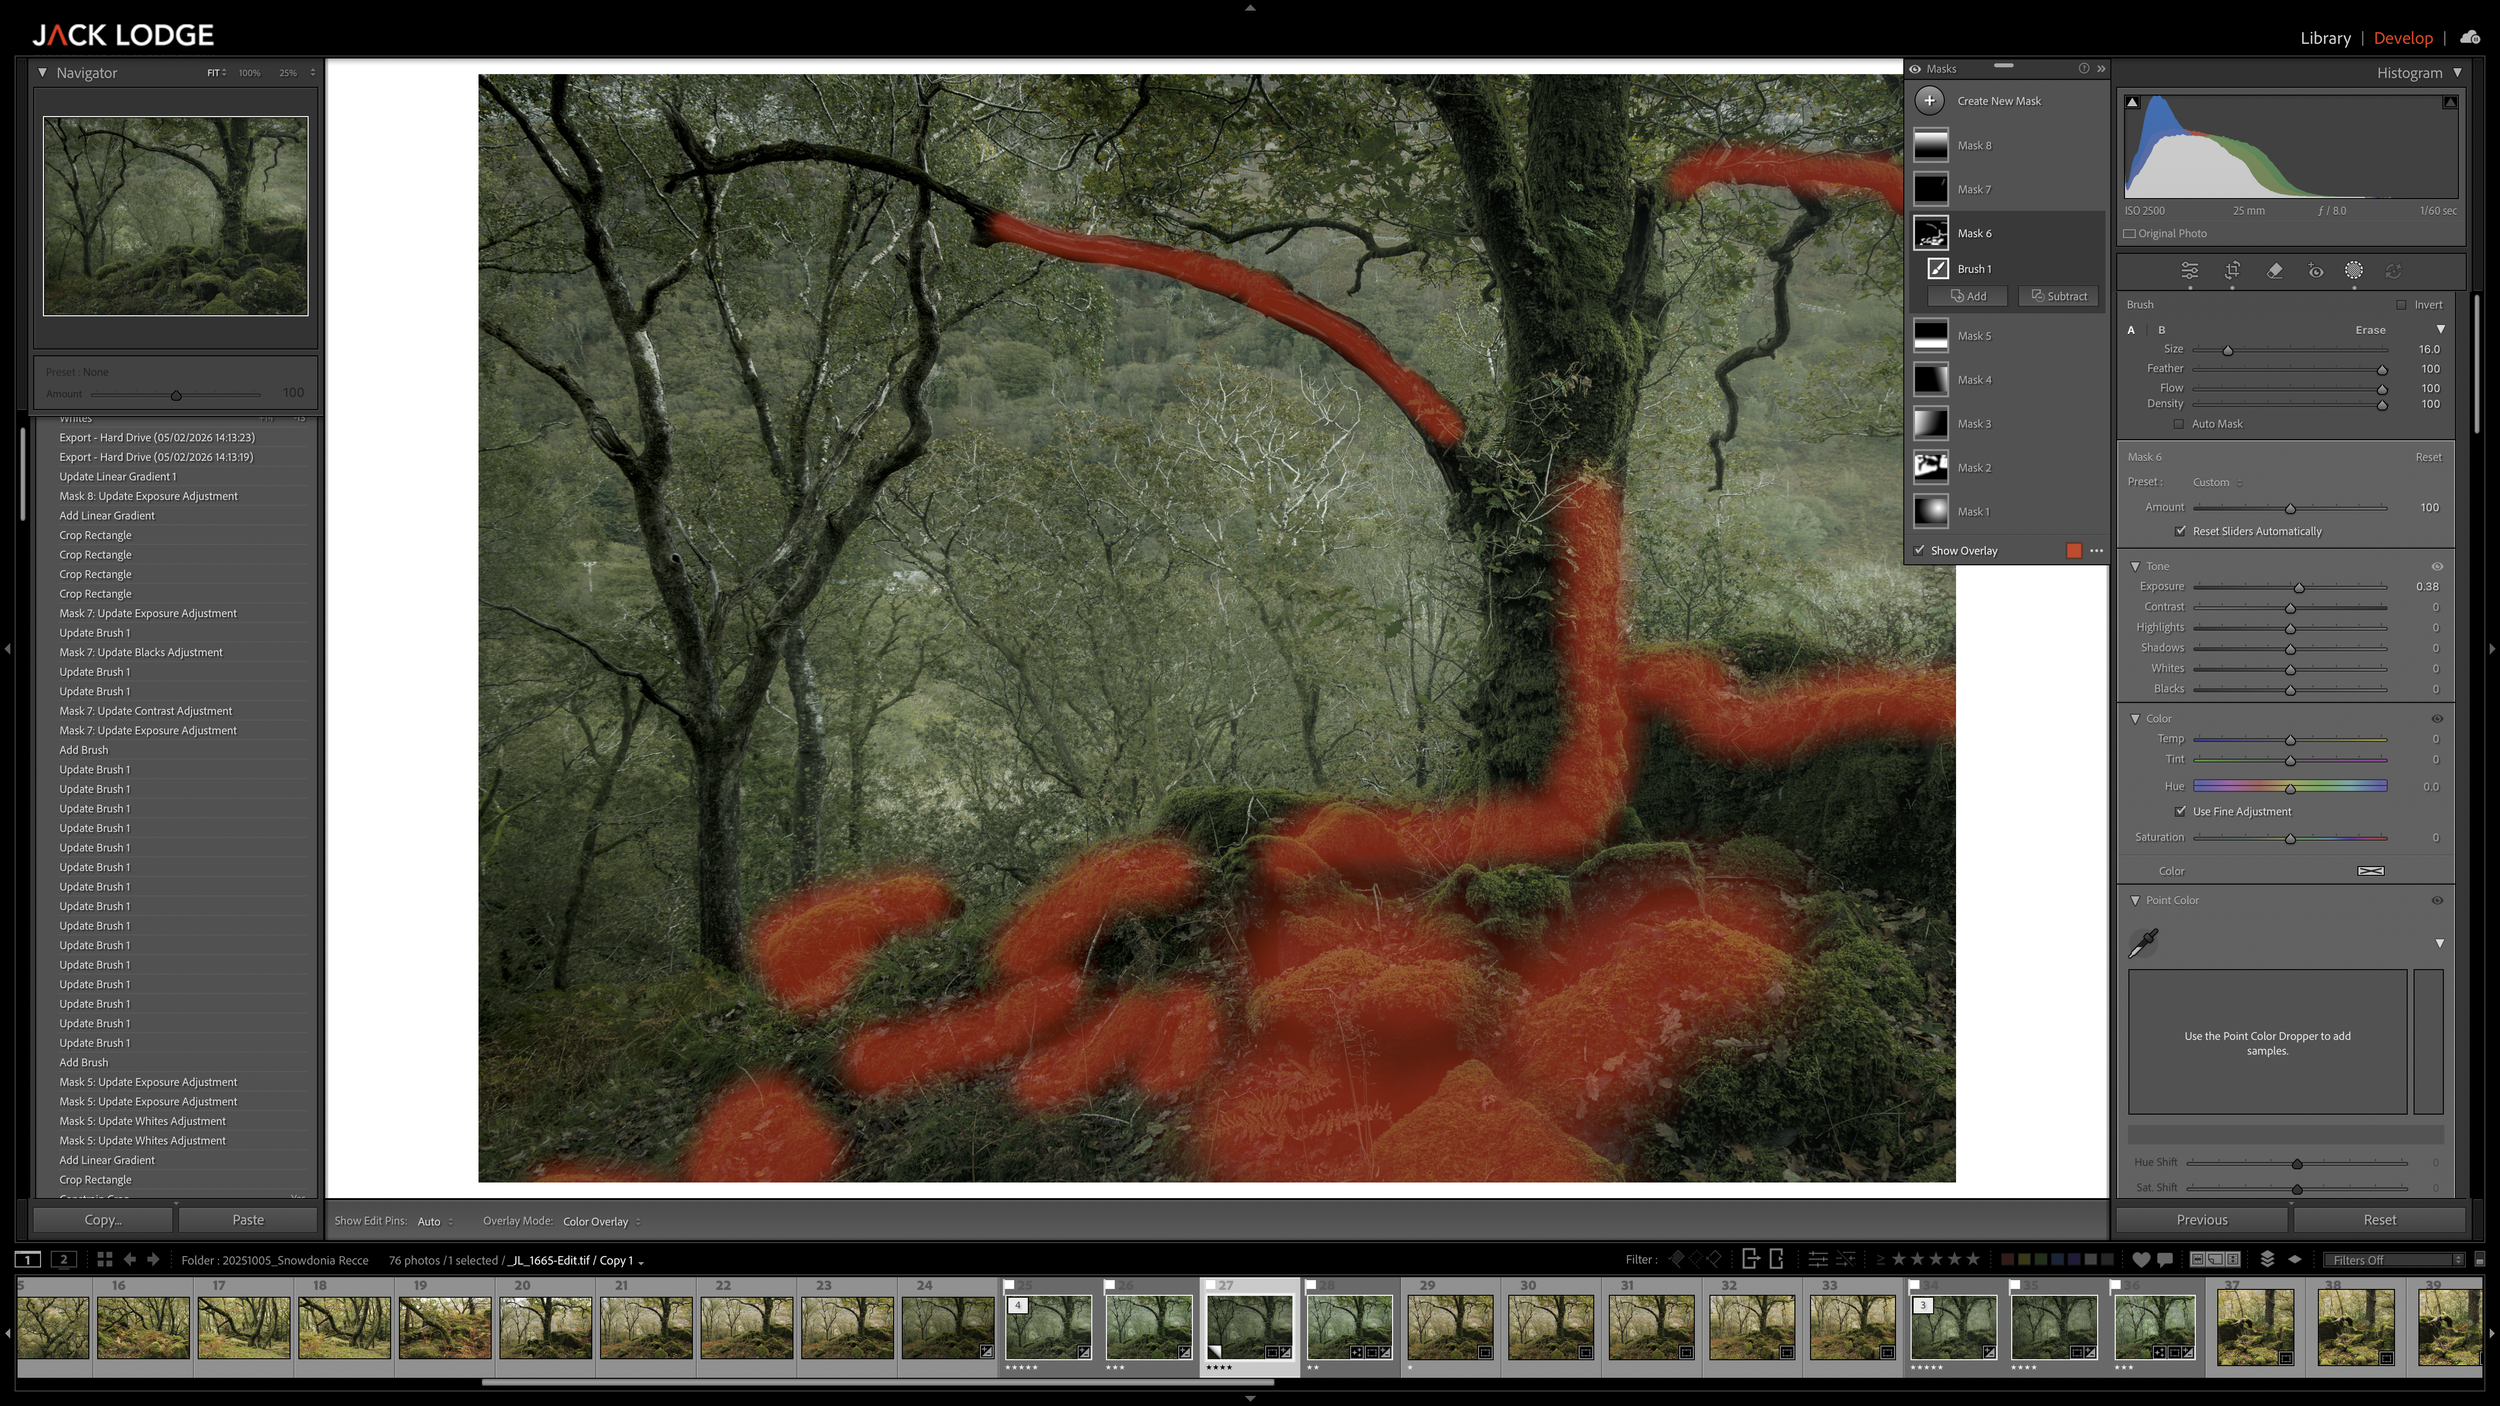 Image 3 of 3
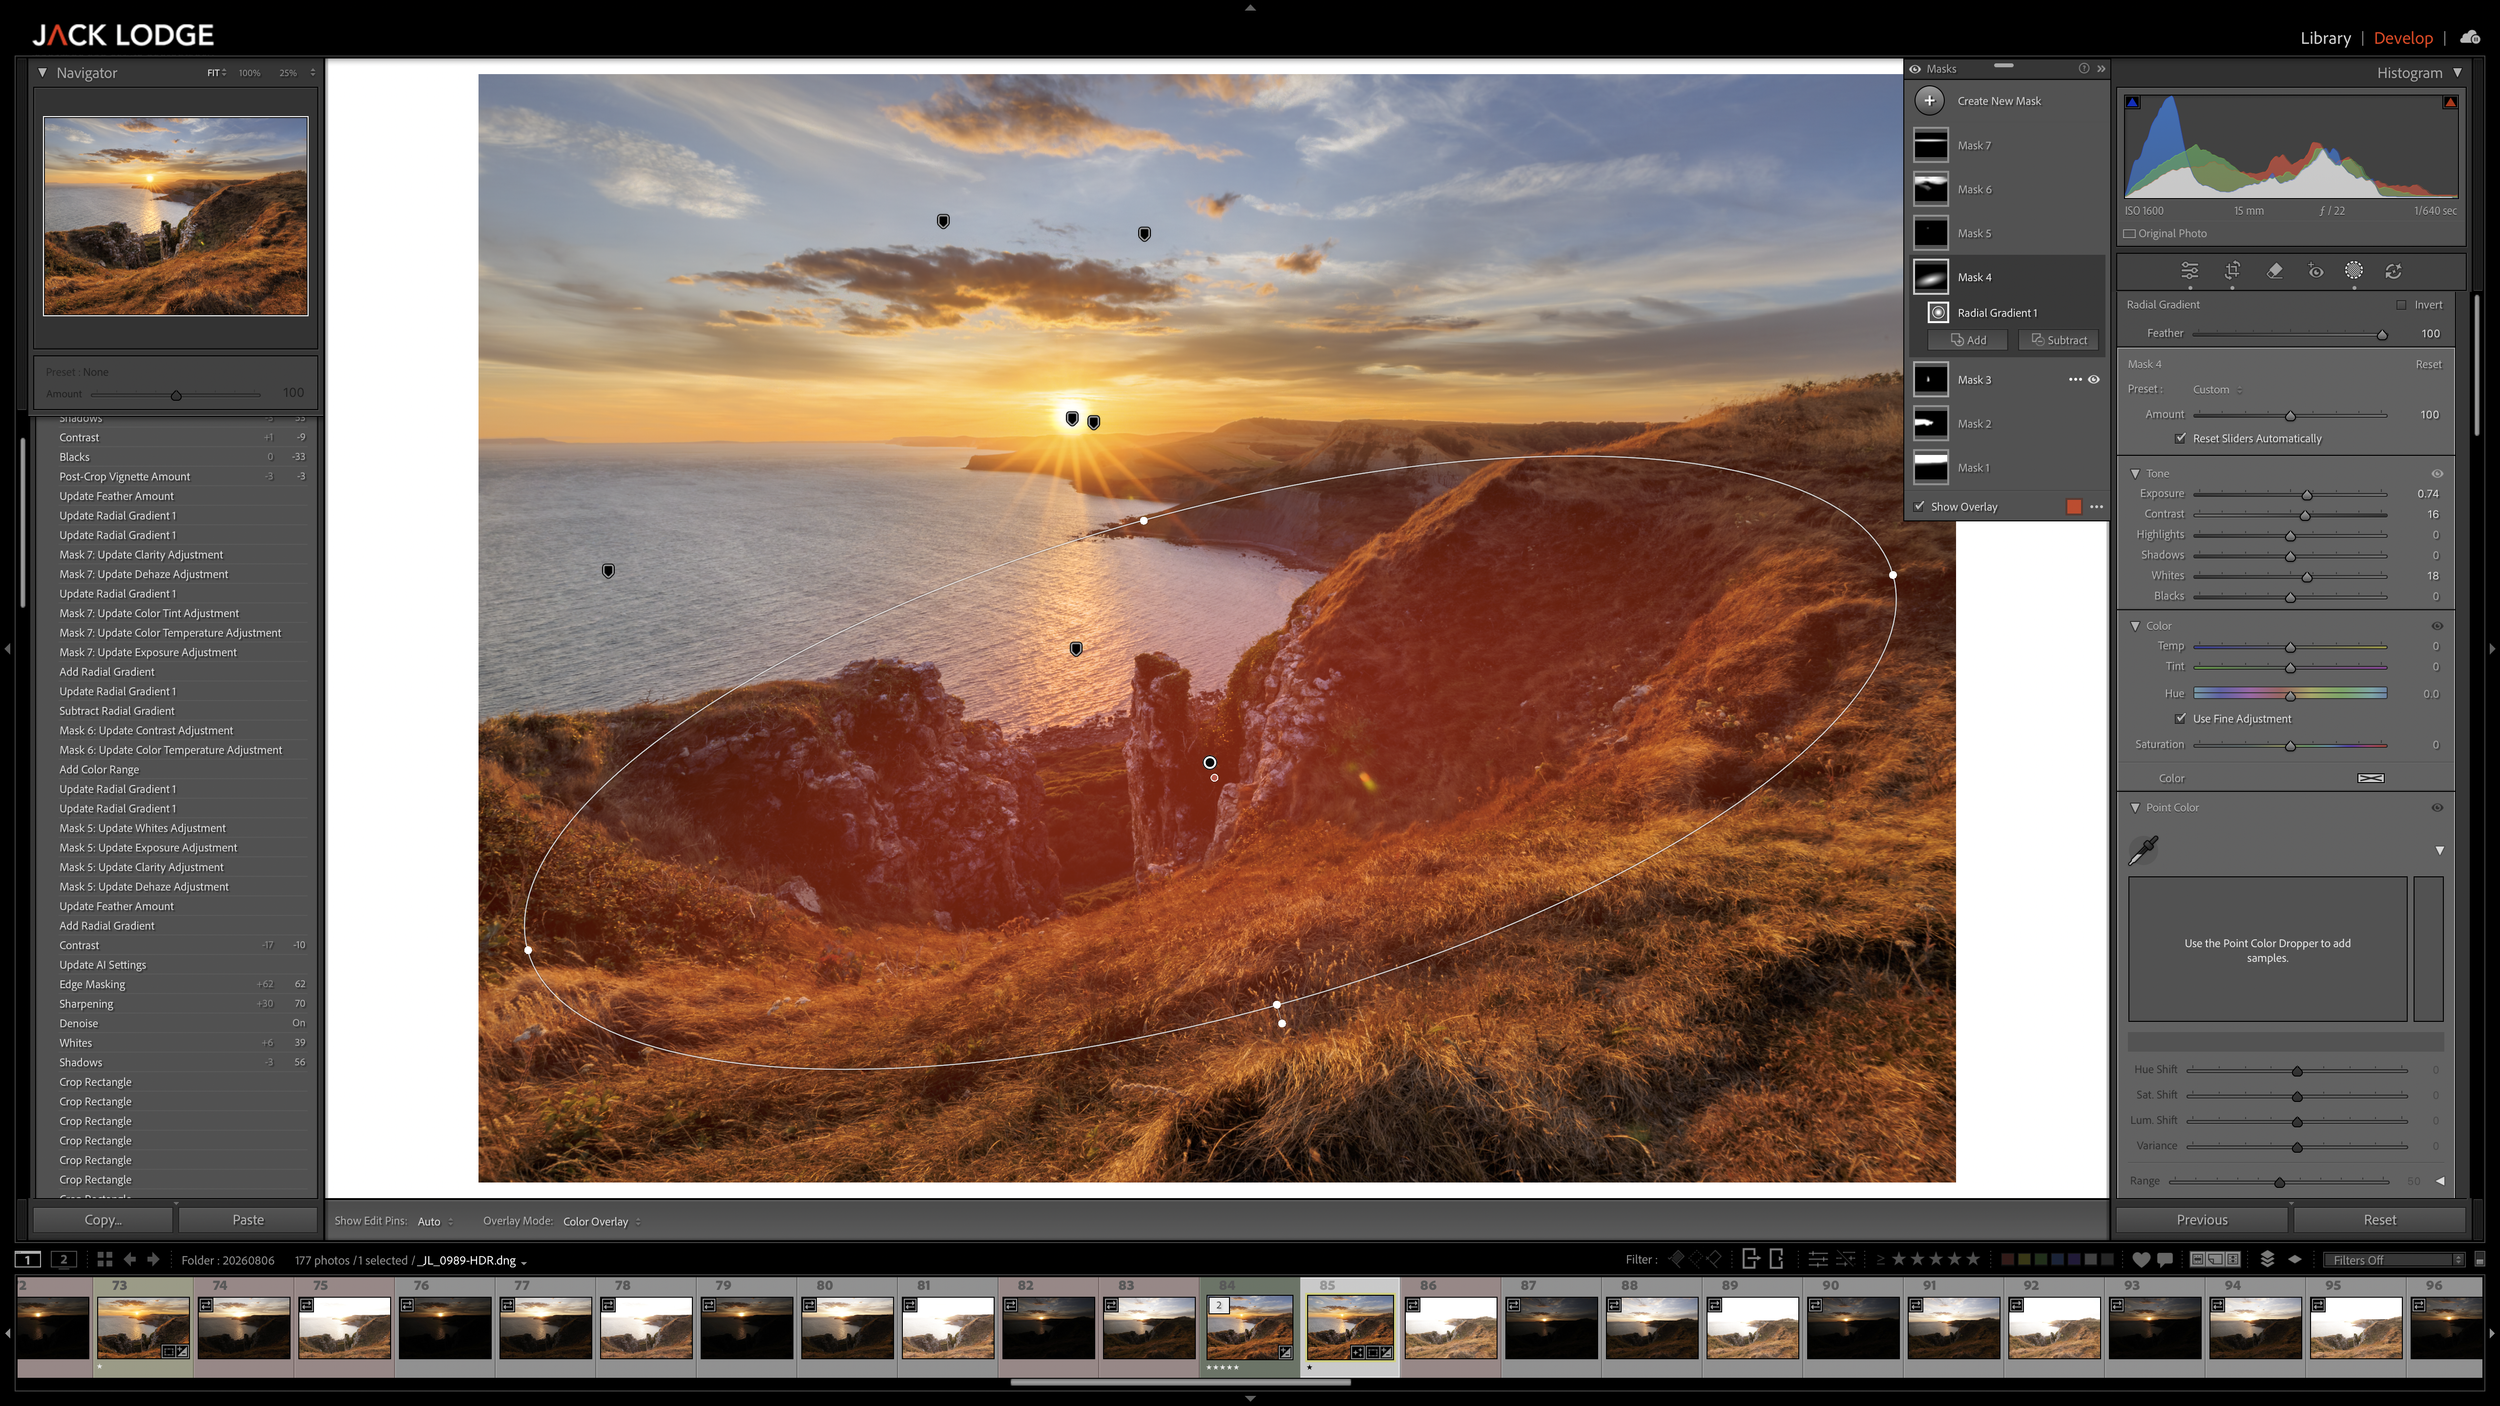
The next instalment of my online Lightroom tutorials is here (and a huge thank you to everyone who keeps coming along, what an awesome little community we're building!) and this time we're diving into one of my absolute favourite parts of image processing… the power of local adjustments!
Ever wondered how to take a photograph from a good RAW file to something truly special, without overprocessing it?
I'll be showing you how I use Lightroom Classic and/or Adobe Camera RAW’s incredibly powerful masking tools to selectively enhance light, colour, contrast and atmosphere, helping guide the viewer's eye through an image and bring your original vision to life.
From subtle dodging and burning in woodland scenes to enhancing dramatic skies, adding depth to landscapes and bringing out beautiful detail in wildlife portraits, we'll explore how a few carefully placed adjustments can completely transform your photography.
Topics include but are not limited to:
Understanding the difference between global and local adjustments (and why it matters!)
Mastering Lightroom's masking tools, including Brush, Linear Gradient and Radial Gradient
Using AI-powered masks to automatically select subjects, skies, backgrounds and individual objects
How to dodge and burn to naturally enhance light, shadow and depth
Creating atmosphere and mood through selective adjustments to exposure, contrast, clarity and dehaze
Enhancing woodland photography by controlling highlights, adding depth and guiding the viewer's eye
Making landscapes come alive through subtle adjustments to skies, foregrounds and natural light
Bringing wildlife portraits to life by selectively enhancing eyes, feathers, fur and backgrounds
Using colour range and luminance range masks for incredibly precise adjustments
Combining, adding, subtracting and intersecting masks to create complex selections
My favourite masking shortcuts, workflow tips and tricks to speed up your processing
Real-world RAW editing demonstrations, showing how small local adjustments can make a BIG difference!
Whether you're completely new to Lightroom masking or already using local adjustments and want to take your processing to the next level, this session will be packed with practical techniques you can put into action straight away.
The goal? To make your photographs feel more like the moment you experienced, rather than simply what the camera recorded.
As always, there'll be plenty of opportunities to ask questions along the way, and hopefully you'll leave feeling inspired to revisit a few of those RAW files gathering dust on your hard drives (yes, we are all guilty of that) 🤷🏻♂️
See you there!
I will send a Zoom link 7 days before but will also record the session and keep it live for 14 days if you’re unable to attend last-minute.
The next instalment of my online Lightroom tutorials is here (and a huge thank you to everyone who keeps coming along, what an awesome little community we're building!) and this time we're diving into one of my absolute favourite parts of image processing… the power of local adjustments!
Ever wondered how to take a photograph from a good RAW file to something truly special, without overprocessing it?
I'll be showing you how I use Lightroom Classic and/or Adobe Camera RAW’s incredibly powerful masking tools to selectively enhance light, colour, contrast and atmosphere, helping guide the viewer's eye through an image and bring your original vision to life.
From subtle dodging and burning in woodland scenes to enhancing dramatic skies, adding depth to landscapes and bringing out beautiful detail in wildlife portraits, we'll explore how a few carefully placed adjustments can completely transform your photography.
Topics include but are not limited to:
Understanding the difference between global and local adjustments (and why it matters!)
Mastering Lightroom's masking tools, including Brush, Linear Gradient and Radial Gradient
Using AI-powered masks to automatically select subjects, skies, backgrounds and individual objects
How to dodge and burn to naturally enhance light, shadow and depth
Creating atmosphere and mood through selective adjustments to exposure, contrast, clarity and dehaze
Enhancing woodland photography by controlling highlights, adding depth and guiding the viewer's eye
Making landscapes come alive through subtle adjustments to skies, foregrounds and natural light
Bringing wildlife portraits to life by selectively enhancing eyes, feathers, fur and backgrounds
Using colour range and luminance range masks for incredibly precise adjustments
Combining, adding, subtracting and intersecting masks to create complex selections
My favourite masking shortcuts, workflow tips and tricks to speed up your processing
Real-world RAW editing demonstrations, showing how small local adjustments can make a BIG difference!
Whether you're completely new to Lightroom masking or already using local adjustments and want to take your processing to the next level, this session will be packed with practical techniques you can put into action straight away.
The goal? To make your photographs feel more like the moment you experienced, rather than simply what the camera recorded.
As always, there'll be plenty of opportunities to ask questions along the way, and hopefully you'll leave feeling inspired to revisit a few of those RAW files gathering dust on your hard drives (yes, we are all guilty of that) 🤷🏻♂️
See you there!
I will send a Zoom link 7 days before but will also record the session and keep it live for 14 days if you’re unable to attend last-minute.